A Tall Yellow Creature

Joshua was given 2 assignments from his school which needs to be submitted when school reopens. One of them is to make either a 2D or 3D of his favorite animal. When I asked what animal does he loves most, he told me it a giraffe! I began to think why does he love giraffe so much? And yes, he indeed loves this animal so much that there is a period of time, he kept bugging his grandpa and I to draw this same animal for weeks. And he was not sick of painting it over and over again. 

It all started off with this book called, “Giraffee Can’t Dance”. I remember when I started reading this story to him, he was around 1yr old and I did not know it has created such a great impact on him. As for this story, it was so well written too that tells us that we need to accept what we are and be confident in ourselves. 

  
Well, let’s see how our giraffe turns out. 

Materials:


• recycled roll from kitchen towel/toilet roll or any cylinder shaped

• yellow, light brown and dark brown felt

• a pair of spare eyes

• 2 yellow pipe cleaners

• 4 orange beads 

• 2 cotton bud sticks

• white, yellow and brown acrylic paint

• yellow and brown thread

• gun glue

• brush

• a pair of sharp scissors

How to make one:-

1. Cut your recycled roll into 3 parts in various length with the shortest as the head, the longest as the neck and the middle length as the body.

  
2. Paint the roll with a layer of white acrylic paint first and leave dry before painting over a layer of yellow acrylic paint. This is to ensure that the yellow will be totally absorbed into the roll. After painting a layer of yellow, leave dry and using your index finger, dip into brown acrylic paint and dot all over the roll as the pattern of a giraffe’s body.

  
3. Using yellow and light brown felt to cut in the shape of triangle with the yellow one as the larger pieces, two pieces for each color. Place the brown triangle which is smaller in size on top of the yellow and glue it. Tap the ends together and glue it tightly. You have a pair of ears for the giraffe.

  
4. Using brown acrylic paint, paint over a cotton bud stick and leave dry.

5. Taking 2 pipe cleaners, cut into half so you have 4 pipe cleaners now. Insert one orange bead for each pipe cleaner and bend the end so that it will secure the bead. And you have the hoofs and legs.

6. Using yellow and brown thread as the tail. Cut at any lengths which you feel comfortable. Preferably the yellow one is longer than the brown one. Cut them into several strands and tie them together.

7. Using dark brown felt, cut into a small rectangle. Each piece needs to be glue at the ends to make the brown mane.

  
8. After all the painted rolls are dried, stick the brown mane which you had made (from step 7) onto the longest roll. 

  
9. Assemble all the rolls together in the form of giraffe body and started sticking them together with hot gun glue.

10. Stick the 4 pipe cleaners with beads underneath the ‘body’ and leave dry for few minutes. You have legs for the giraffe.

  
11. Now stick the ears which you have made previously onto the head. 

12. Taking the brown cotton bud stick which you had painted earlier, cut into half or even shorter and stick them near to the ears. These are the short horns.

13. Since there is an opening on the head, using yellow felt, cut into a circle. Using a clean cotton bud stick, dip into brown acrylic paint and dot two dots at the centre of the yellow circle. Stick it at the opening.

14. Taking the spare eyes, stick one on each side of the head. The head is done.

15. Stick your ‘tail’ at the end of the body.


You are done completely!

Difficulty level: 5 out of 5 stars


A ‘Recycled’ Pig

20140731-214141-78101331.jpg

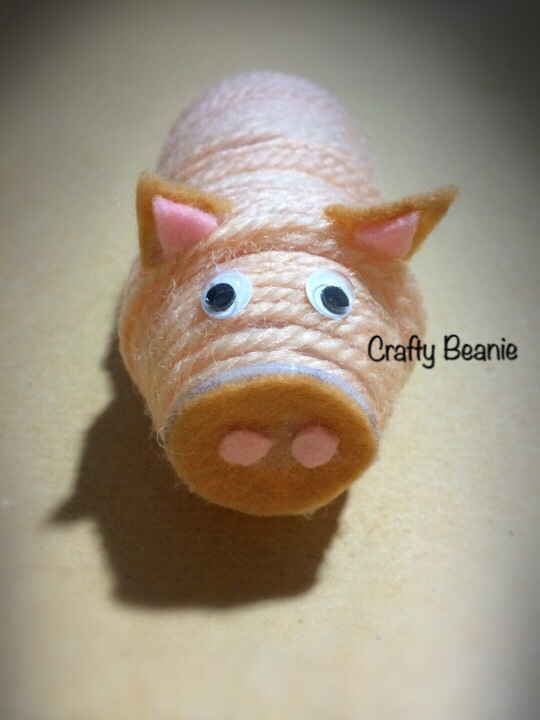
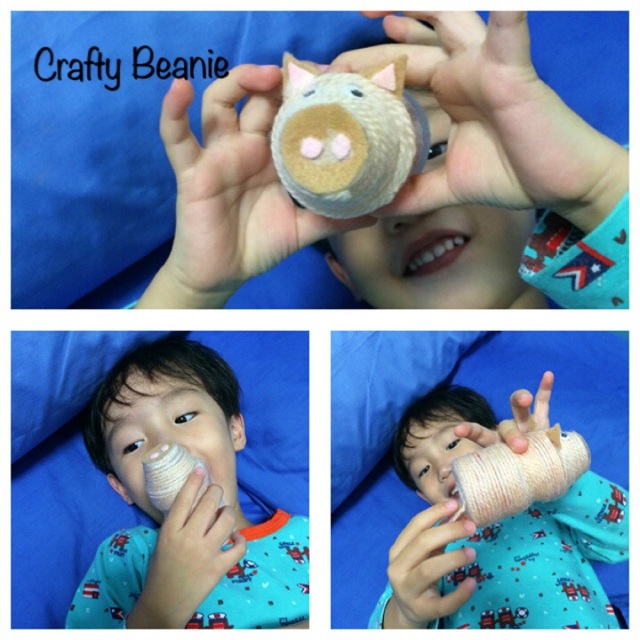
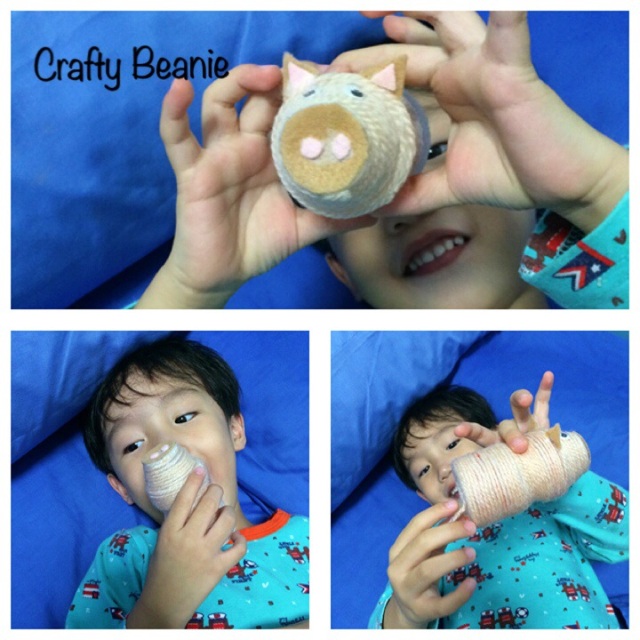
Who would have thought we can make a pig out of a Yakult bottle? We can indeed! This is one of my favorite craft works which I knew how to make one since young. And guess who had taught me? It was my mom, Joshua’s Grandma. And since when she is so creative? She is good in cooking, baby sitting but not in arts. She has never interfered in what I drew, made or paint. It just happened one day, that she was asked to teach the kids in church to do some handicrafts. So, she came out with this idea, making a Yakult pig! How imaginative and creative she is right? Well, I guess everyone can be innovative as long as you think harder. My mom is a good example here. And I am so excited to showcase in making this pig here.

20140731-214804-78484023.jpg

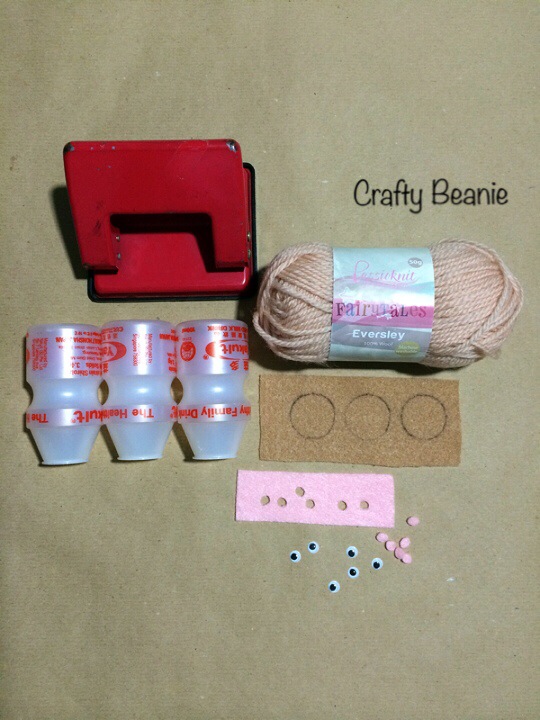
Materials:
• an empty bottle of Yakult
• small piece of light brown and light pink felt
• a pair of 7mm spare eyes
• a roll of beige wool
• puncher
• white glue

How to make one:

20140731-221355-80035156.jpg
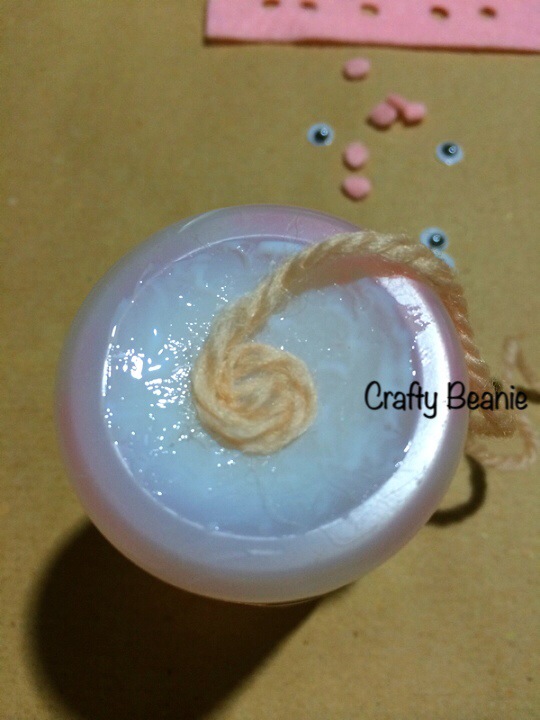
1. Spread some white glue over the base of the bottle and starts off with the end of the wool and stick it on the base (refer to the picture as shown above).
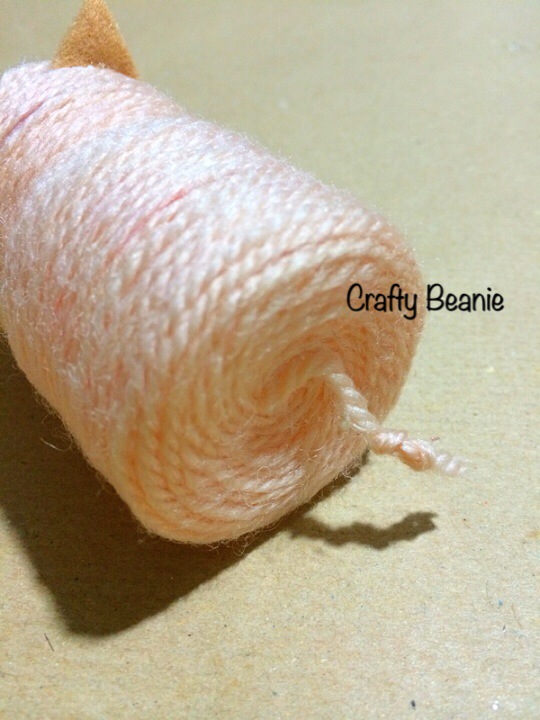
2. Start quilling slowly and spread more glue when needed.
3. Using the opening of the bottle, place upside down on the light brown felt, trace a circle and cut it out.
4. Using light pink felt, place it on the puncher and punch 2 holes. Collect the 2 small circles which you just punched and stick it on the light brown circle (from step 3).
5. Stick the light brown circle with 2 small light pink circles on the opening of the wooled bottle. And you have made a nose.
6. Cut 2 triangles using light brown felt in the shape of an ear. Cut another 2 small triangles with light pink felt and stick over light brown triangles. You have a pair of ears now.
7. Stick a pair of ears which you just made, over the side of the bottle, but close to the opening. Around 1/4 of the bottle.
8. Glue a pair of spare eyes just below the ears.
9. Cut a short strand of wool and tie a knot at the end. Glue it at the base of the bottle as it’s tail.

*Parent’s guidance is needed for Step 1-6 and 9

20140731-223642-81402403.jpg

20140731-223724-81444447.jpg

And you are done 🙂

20140731-224819-82099026.jpg

The Three Little Chickies

20140724-225806-82686834.jpg

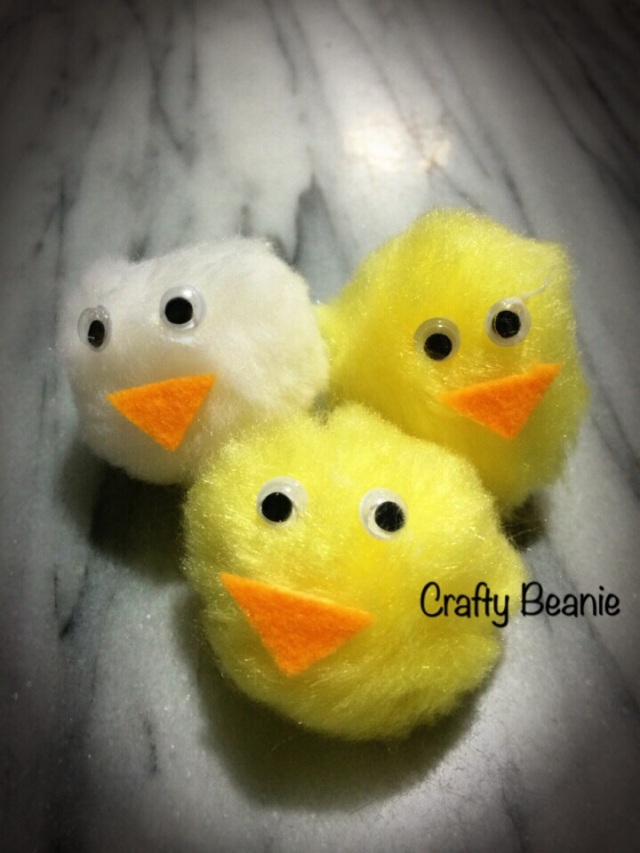
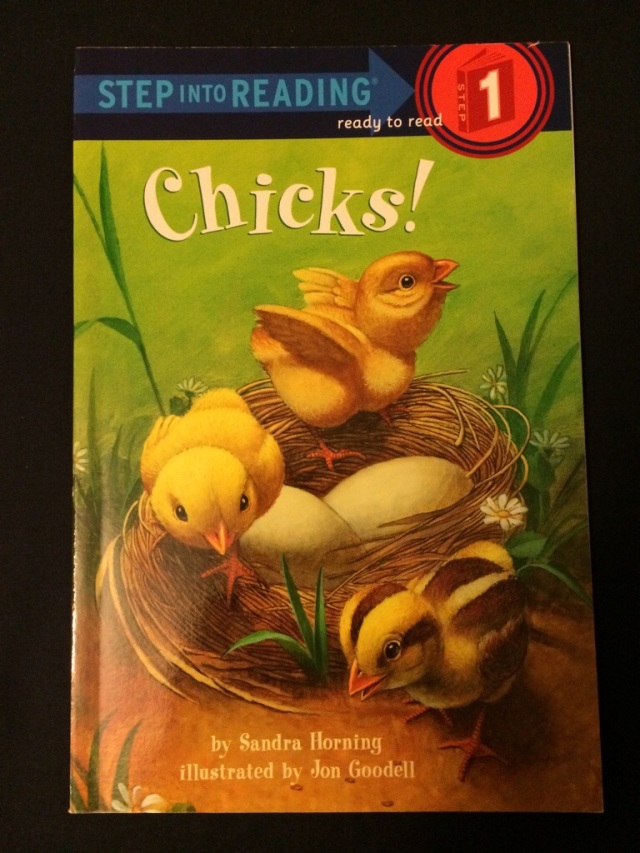
In my previous post, I mentioned that we read a book about chicks. It described how a hen laid an egg, how it hatched into a chick, and how it had grown into a hen or rooster. With such a book, it makes things so much easier to explain to Joshua about its life cycle.

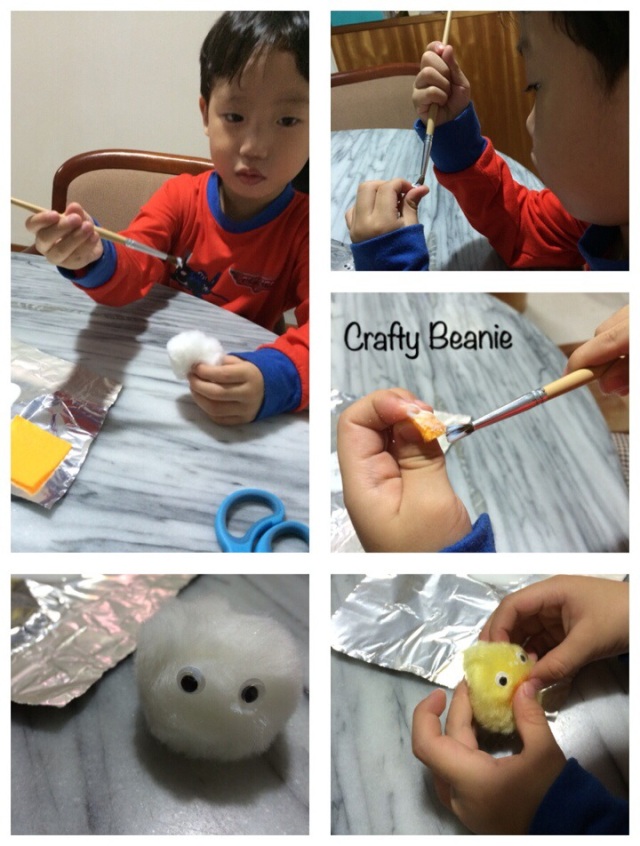
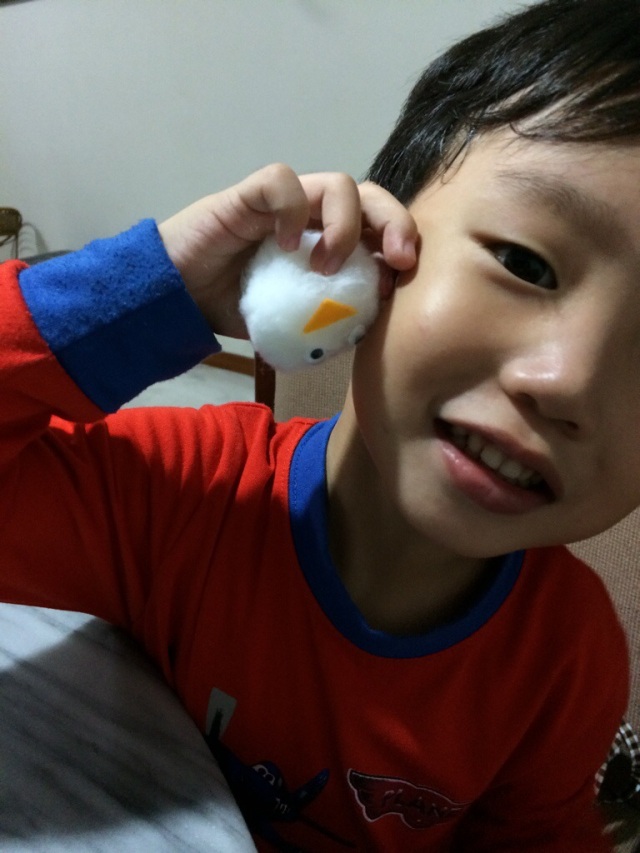
We made chicken the other night, and so now, we are making some chicks! In this round, I just sat aside and instructed Joshua what to do. And he takes instructions quite well now.

20140725-084538-31538669.jpg

Materials:
• white and yellow pom Pom or ball-liked cotton wool
• spare eyes
• comb yellow felt
• white glue

How to make one:
1. Glue a pair of spare eyes on each pom pom.
2. Cut a small triangle from a piece of comb yellow felt (need help from an adult or adult’s supervision) and glue on the same pom pom which you just sticked the eyes.

20140725-085612-32172895.jpg

And you are done 🙂

Chicken, Rooster or Cockerel?

20140724-000222-142136.jpg
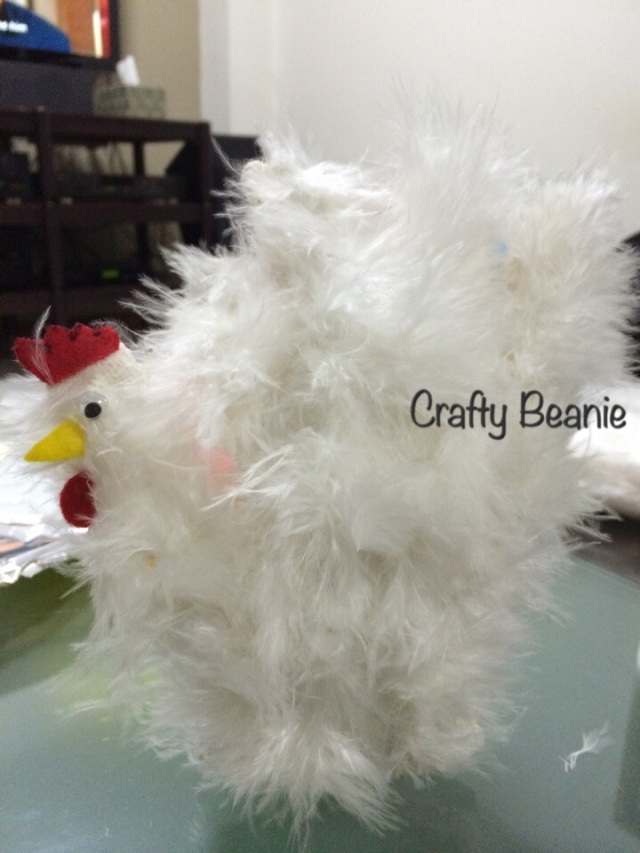
I was reading a book called ‘Chicks’ to Joshua one night and suddenly, an idea came into my mind. I want to make something out from a book, which able to educate him. And so, I decided to make a chicken. Which I am able to show him that it is covered with feathers, belongs to Bird Family. Explaining to him that all birds are covered with feathers, lay eggs and almost all of them can fly.
20140724-000509-309792.jpg

Materials:

20140724-000550-350394.jpg
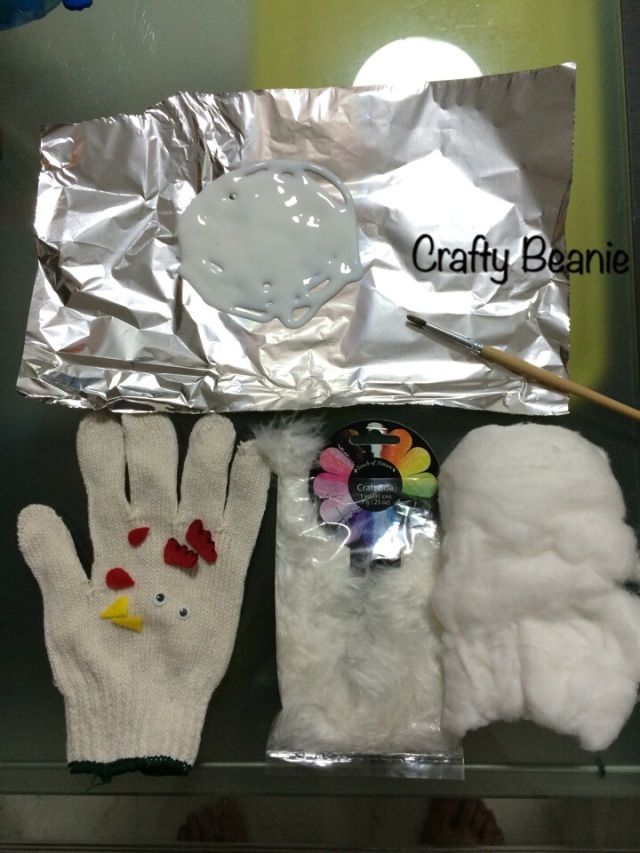
• white glove
• cotton wool
• white feathers (can be other colors)
• 7mm dia. spare eye (1 no.)
• small piece of red and yellow felt
• white glue

How to make one:
1. Stuff cotton wool into the white glove to make it looks fluffy. And stitch the opening to seal it.
2. Paint one side of the glove with white glue and quickly stick feathers on it.

20140724-000943-583715.jpg
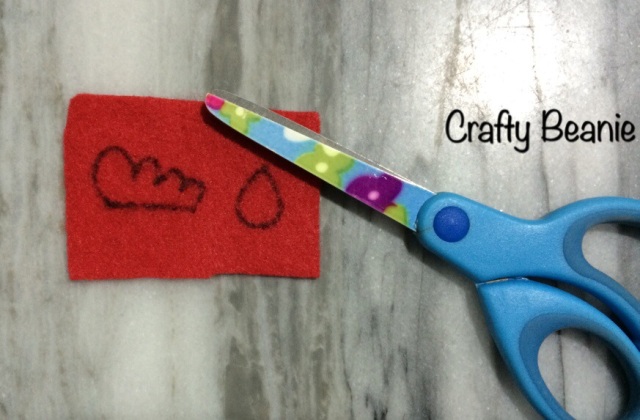
3. Using the red felt, draw a chicken’s comb and wattles and cut them out. As shown above.
4. Using the yellow felt, cut out a small triangle which looks like the shape of its beak.
5. Stick the comb at the top of the thumb (on the glove’s thumb), followed by spare eye, beak and wattles. Position wattles just below the beak.

And you are done 🙂