Christmas Fingers

How fun it is to make your own Christmas cards and explore it with your fingers? We have some fun graphics to share here which you can paint with your kids. So let your fingers do the magic and let your imagination runs wild!!

Please note that we are showing one illustration here

Materials:
• colored construction papers (any colors of your choice)
• some toothpicks
• some cotton sticks
• brown, red and black paint or acrylic paint.

How to make one:
1. Cut the paper to the sizes which you want. Here, we have an A5 size paper and folded into half.
2. Dip your index finger into brown paint and stamp them on one side of your paper. This will be your cover and you have a face.

IMG_5002.JPG
3. Using the same index finger draw one stroke at each side of your finger prints. You have the horns now.
4. Using a toothpick, dip into black paint and dot onto the finger prints to have a pair of eyes.

IMG_5003.JPG
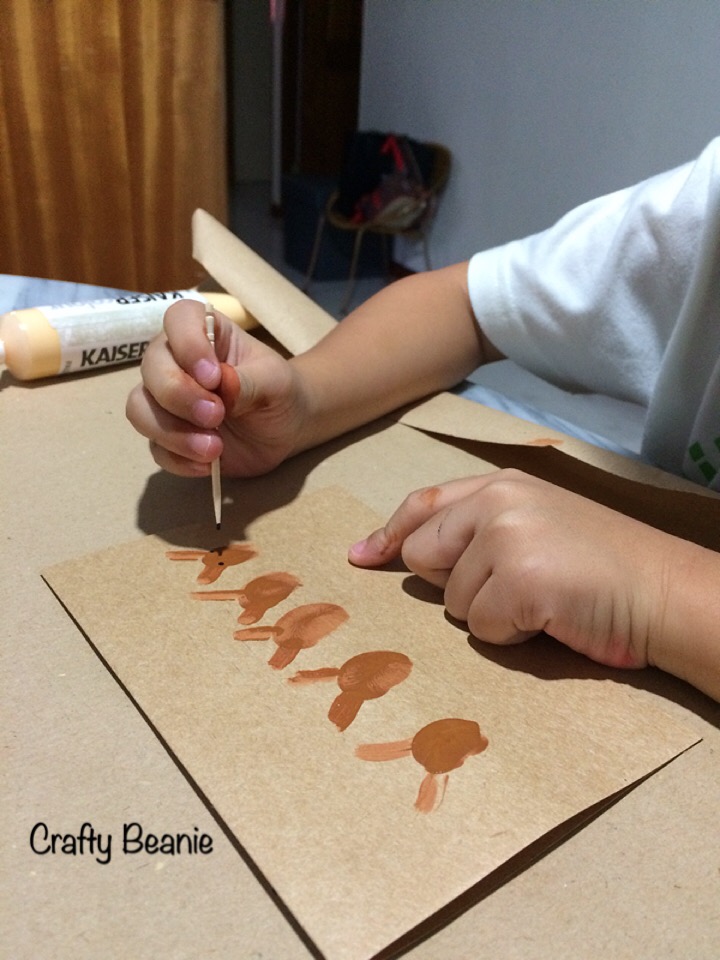
5. Using a cotton stick, dip it into your red paint and dot onto your finger prints again. This time, dot it in the middle, at the edge. You have a big red nose now.

IMG_5004.JPG
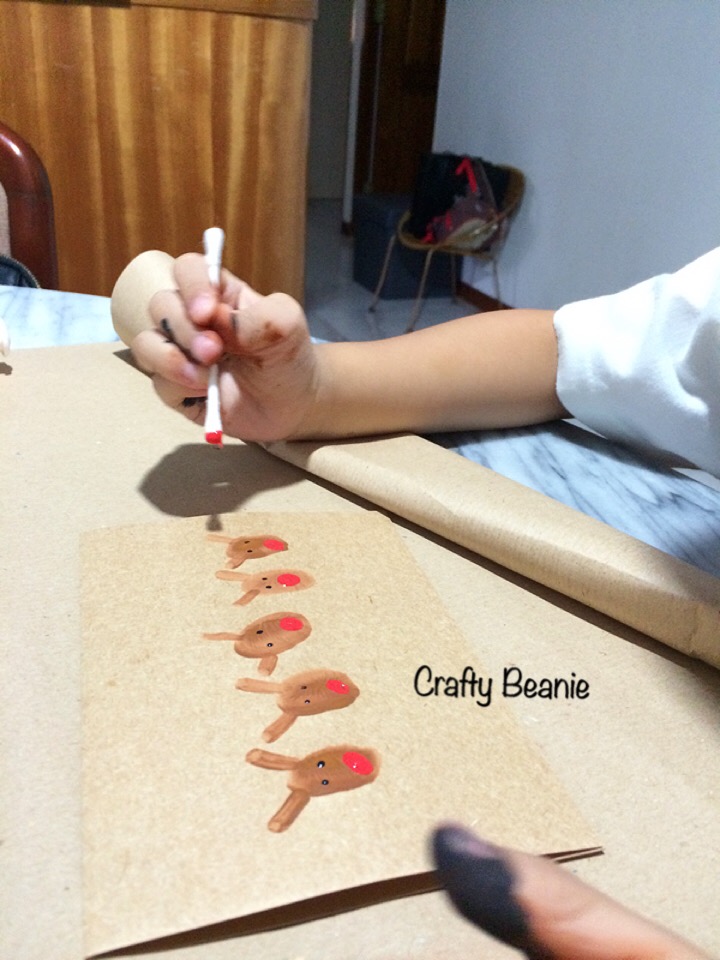
We got a reindeer with big red nose!

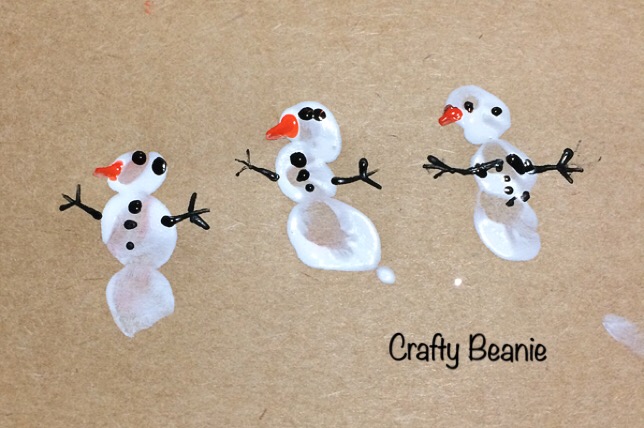
We did snowmen, Christmas tree, elves, Christmas wreath too!

IMG_5005-1.JPG

IMG_4996-0.JPG

The Magnificent Snowflake

IMG_4575.JPG
I am living in a country where there are no four seasons, only four weather, sunny, windy, cloudy and rainy. And I got to experience my first winter when I made my second trip to South Korea last December.
During my second day there, snow started to fall against the window. I got out from my coach and let the snow fell onto my face gently. I did not realize that it indeed looking like a snowflake till someone told me to look at it closely. It was so so so amazing! I seriously had no idea it looked exactly the same as what I have seen from cartoon! They are just so adorable and so cute to be admired.
To symbolize what I have seen, I made one together with my son who enjoyed snow as much as me.

Materials:

IMG_4564.JPG
• a packet of wooden clothespin
• white paint
• white, silver, light blue glitter
• white glue
• super glue
• paint brush
• a roll of gold thread

How to make one:
1. Using a screw driver, remove the metal thingy that is holding the clothespin. We need 7 pairs of clothespin to make 1 snowflake.
2. Using white glue to stick them with the flat side facing each other. Leave dry.

IMG_4565.JPG
3. Using white paint, paint both front and back. And lay them in a line.

IMG_4567.JPG
4. Before leaving them dry, sprinkle them with white, silver and light blue glitter. Leave dry.

IMG_4569.JPG
5. Using 7 pairs of clothespin, assemble them into a shape of a snowflake. Using super glue/ hot glue, apply on both sides of a pair of clothespin. Leave dry. You have a snowflake now.
6. Cut a small strand of gold thread, go through a small hole of a pair of clothespin and tie a knot.

IMG_4571.JPG

IMG_4574.JPG
And you are done 🙂
Difficulty Level: 2.5 out of 5 stars