
It is hard to show Joshua any hives outside and is dangerous to show him too. Afraid that he might do something mischievous. Well, you know how boys behave. And that was how I came up with such an idea.

Materials:
• yellow, black and red acrylic paint
• bubble wrap
• quail egg
• stem wire (optional, can use pin or needle)
• white or yellow felt
• a small saucer or a bowl
How to make one:
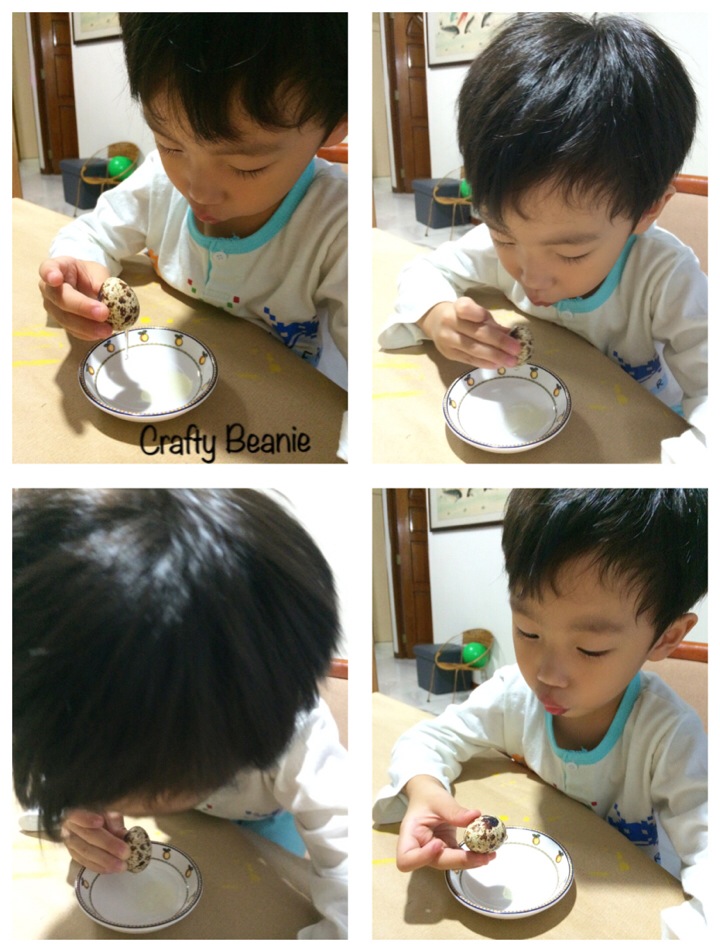
1. Using a stem wire, pin or needle to poke a small hole on both ends of a quail egg (adult’s help is required).
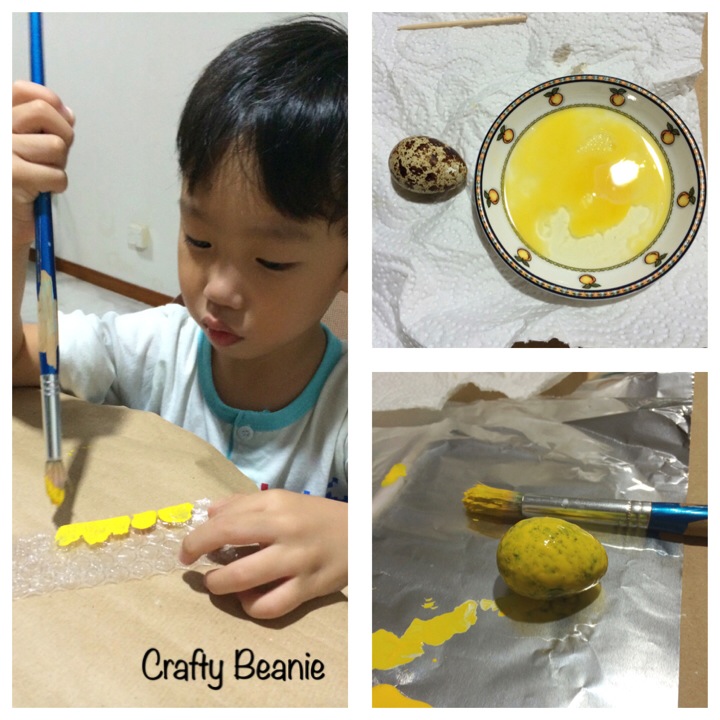
2. Start bowling at one end to let the egg york flow out from the other end of the hole. Make sure you have a saucer or bowl while bowling it out (adult’s supervision or help is needed).
3. Wipe off any access egg from the shell and start painting it with yellow acrylic paint. Leave dry.
4. Start working on the bubble wrap. If it too big like what I have here, cut it into strip (adult’s supervision or help is required). Paint it with yellow acrylic paint on the smooth side of the bubble wrap.
5. Once the quail egg is dry with yellow paint, start painting strips of black.
6. Dot 2 small dots on one end as a bee’s eyes.
7. Using red acrylic paint, draw a smiling face. (Pardon for Joshua’s cheekiness, he drew strands of red hair and big puffy lips for his bee). Leave dry.
8. Using either a white or yellow felt (am using white felt here) for the wings. Cut them out in the shape of a tear drop.
9. Using a super glue, stick the pair of wings on the painted quail egg.
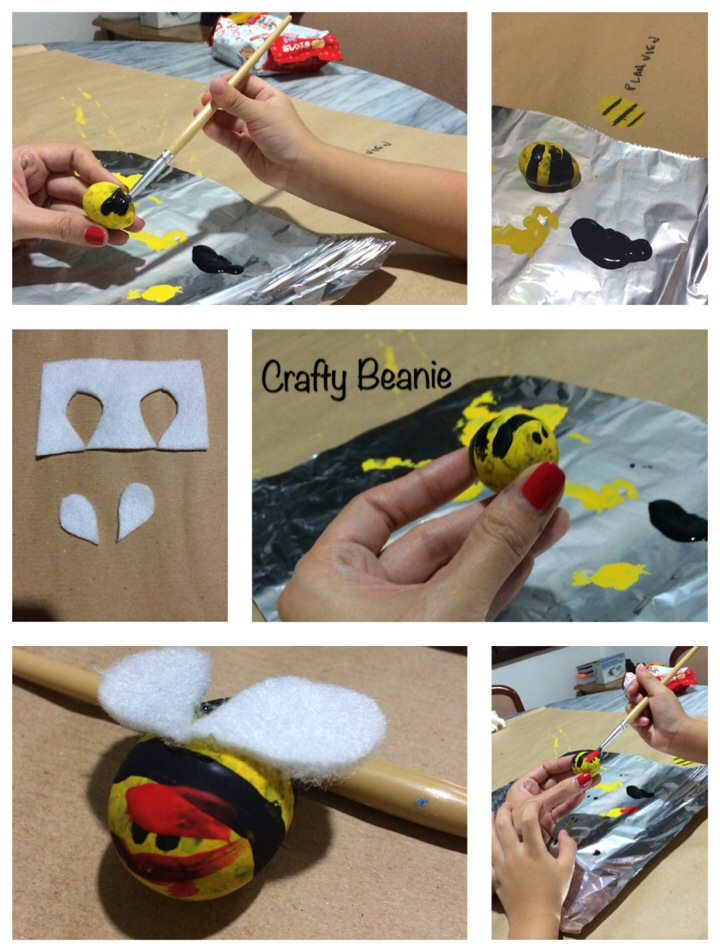
10. You got a bee now.
11. Using your strip of yellow bubble wrap, coil it up by starting off with a bigger base and slowly getting smaller when moving to the top. Staple to secure when necessary. (Adult supervision or help is needed).

12. You have a hive now.
13. Stick your bee at any spot of your hive with super glue.

And you are done 🙂
Difficulty level: 4 out of 5 stars
